Creating your studio
6 min read
Signup is deliberately not a form. A form is forty fields and a "submit" button that might as well be a trapdoor. What you're about to walk through instead is one flowing conversation, seven real questions after a quick welcome screen, each one building on the last, each one explained in plain language as you go. You can leave every step except your studio's name and your email completely blank and come back to it later from Settings, nothing here is a one-way door you have to get perfect on the first try.
The seven steps, one by one
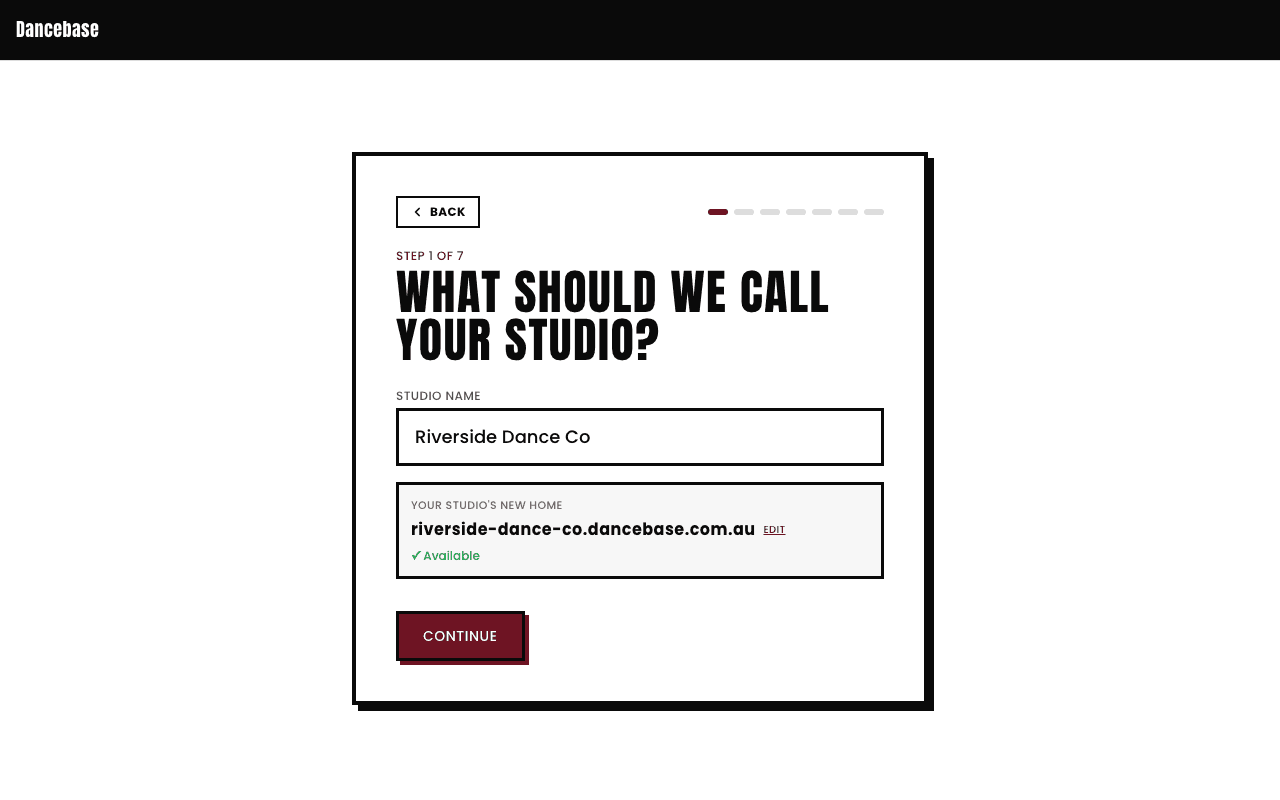
- 1Studio name. This is the one question that does double duty, it's both the name your students will recognize AND the thing that decides your web address. Type "Riverside Dance Co." and Dancebase instantly suggests
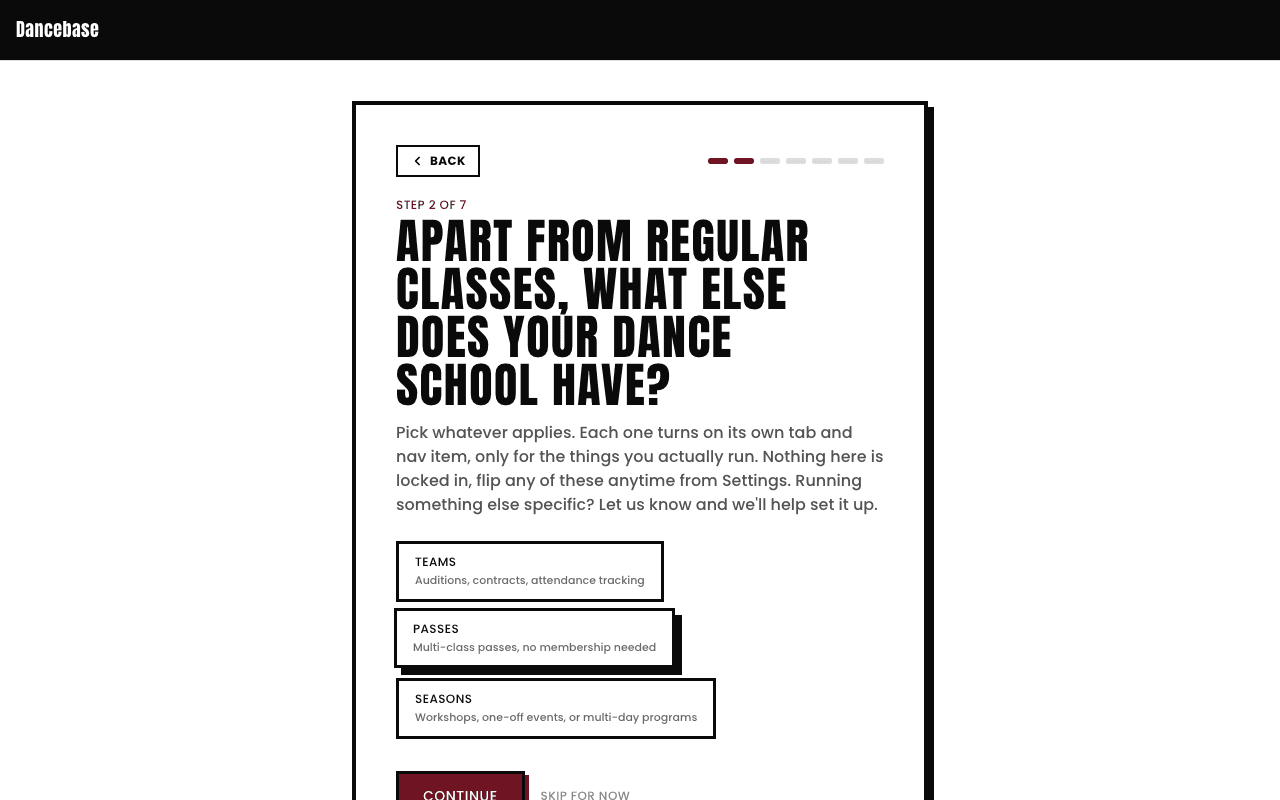
riverside-dance-co.dancebase.com.auunderneath, checked for availability in real time as you type, no waiting, no "we'll email you." Not happy with the auto-generated version? Tap "edit" right next to it and pick your own, shorter or punchier, whatever reads better on a poster. - 2What else your school runs. Three toggles,
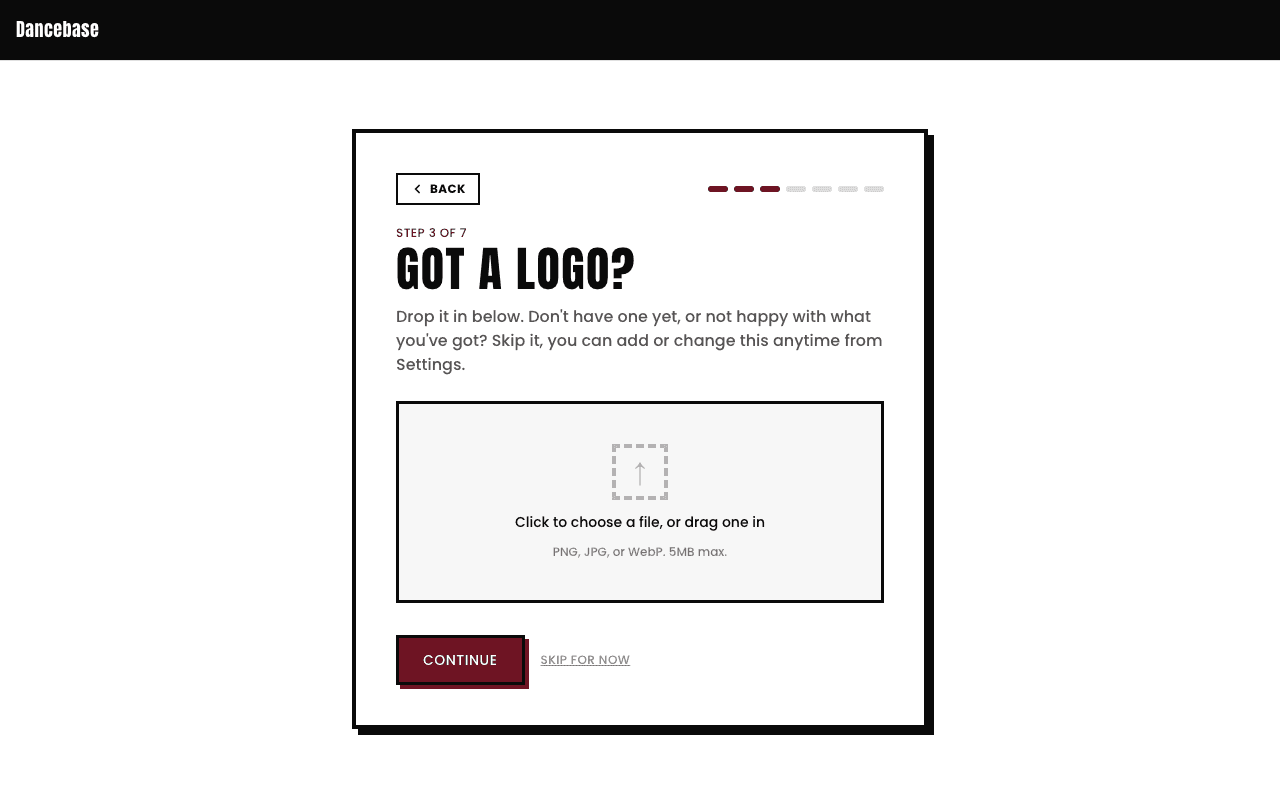
Teams,Passes, andSeasons, each one turning on its own nav tab and underlying data setup only for the things you actually run. This step exists specifically so a studio with no competitive team doesn't end up with an empty, confusing Team tab sitting in their nav for no reason. Nothing here is locked in, flip any of these later from Settings. - 3Logo. Drag one in, or don't, entirely your call right now. A studio without a logo at this stage still looks completely finished and professional, it just doesn't have a mark next to its name yet. You can add, replace, or resize your logo anytime later from Settings, and it'll show up correctly no matter what shape or proportions your file happens to be, wide wordmark, tall crest, perfect square, all of it renders properly.
- 4Studio vibe. A handful of chips to tap, competition-ready, family-friendly, street and urban, whatever actually describes how you run things. Right now this is a fun, honest onboarding touch, a way for Dancebase to get a feel for who you are, it doesn't change how your site looks or functions. Pick as many or as few as genuinely fit.
- 5Website style. Four real, fully live-previewed looks, not screenshots pretending to be live previews. This is a meaningfully bigger decision than it might feel like in the moment, read Your studio's look for the full story on exactly what changes when you pick one.
- 6Accent color. Eight curated presets, or type in your own hex code if you've got exact brand colors already. Whatever you land on shows up everywhere, every button, every active state, every checkbox, your family portal, all of it, consistently.
- 7Your email. The one you'll actually use to sign in going forward, via Google, no password to invent or forget. The moment you submit this step, that email automatically becomes your studio's first admin account, on the Super Admin tier, the highest level Dancebase has, full control over everything.
What happens the instant you hit submit
Tap "Create my studio" on that final step, and Dancebase provisions your entire studio in well under a couple of seconds: your tenant record, your first admin account, your default settings, a private encryption key reserved for anything sensitive a student might later give you (think medical notes, emergency contacts), and the four built-in absence reasons the Team system leans on from day one. None of this is a background job that finishes "sometime soon," it's all done before the confirmation screen even finishes fading in.
What happens if something goes wrong partway through
Live, immediately, for real
The second signup finishes, your address is real, resolvable, and already rendering your student-facing site in whichever style and color you just picked. There's no approval queue sitting between you and a working studio. The very next thing worth doing, and it's genuinely worth doing right away while it's fresh in your head, is signing in as staff so you can actually start building out your first class.