Creating your first category
6 min read
This is the one thing that genuinely has to happen before your studio can take a real booking from a real student. Everything else in setup can comfortably wait a day or two, this one really can't.
Getting there
- 1Go to
Events → Event Categoriesin your admin sidebar. - 2Tap
+ New Categoryin the top left.
Inside the builder: seven real steps
Tapping "New Category" drops you into a proper multi-step builder, not one long intimidating form: Basics, Capabilities, Eligibility, Billing, Cross-discounts, Onboarding form, and Review. You can move back and forth between steps freely while you're still setting things up, nothing commits until you actually finish.
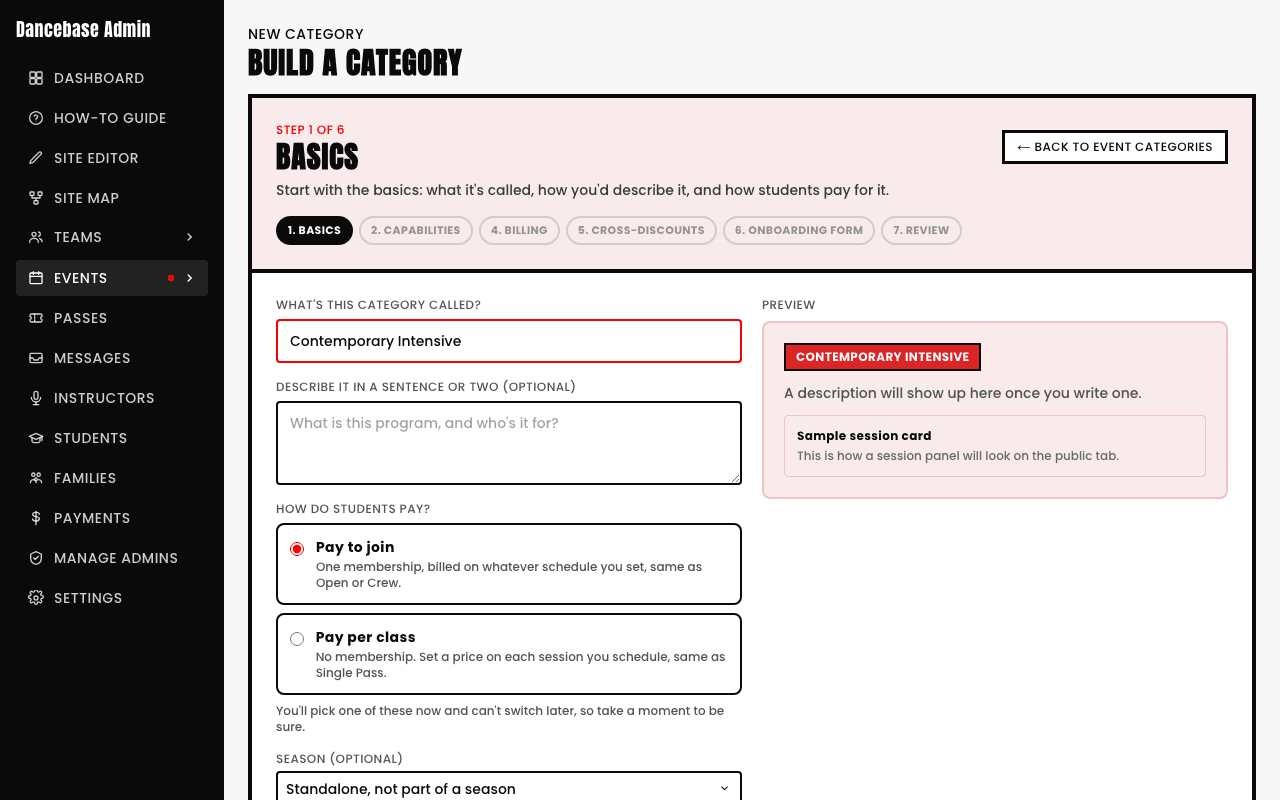
- 1Basics. Name it something a student would actually recognize, "Adult Hip-Hop," "Beginner Ballet," whatever matches how you already talk about it out loud. Add a short description if you want one, then make the single most consequential choice in the whole builder: Pay to join (one or more membership plans, each billed on whatever schedule you set) or Pay per class (no membership at all, a price on each individual session you schedule). You'll pick one of these now and won't be able to switch it later, so take a genuine moment here.
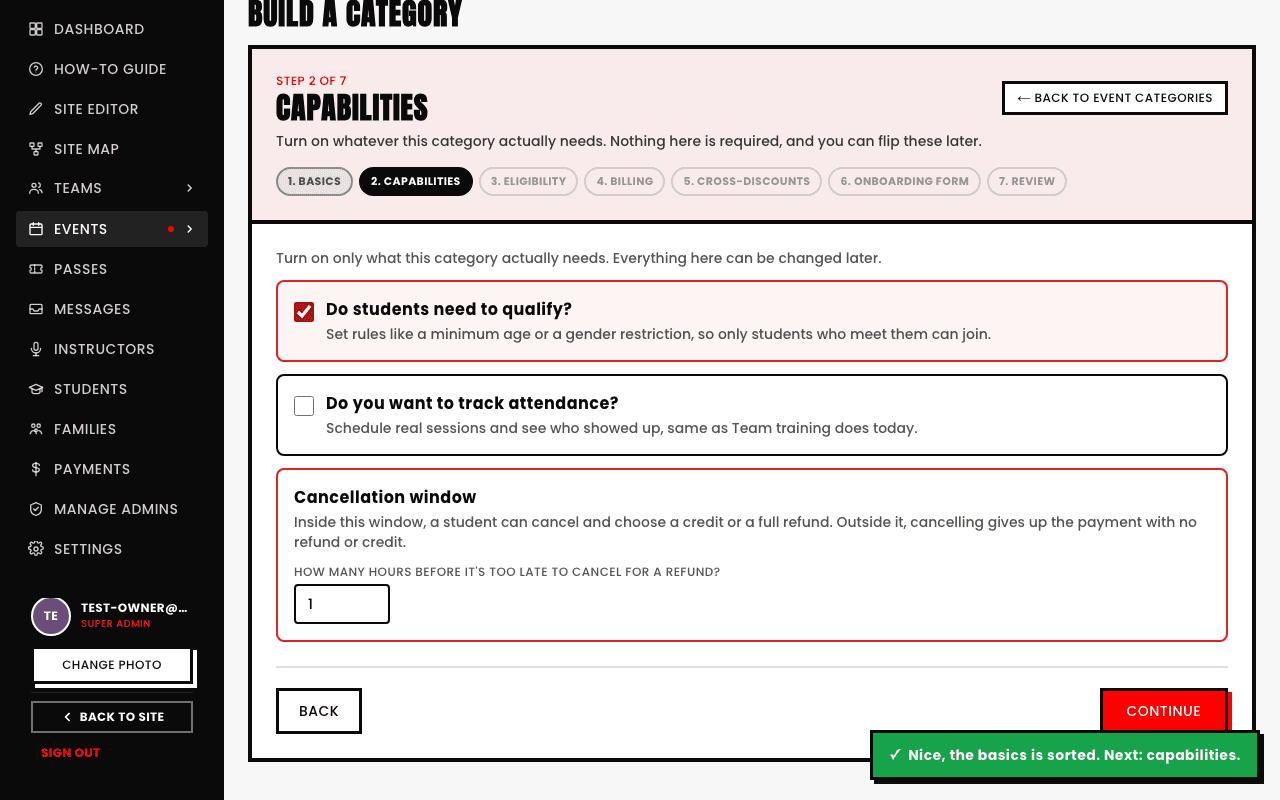
- 2Capabilities. Three real toggles: whether students need to qualify (turns on the Eligibility step below), whether you want to track attendance (adds a missed-session strike threshold and optional auto-enrollment for new sessions), and a cancellation window, how many hours before class it's too late to cancel for a refund or credit.
- 3Eligibility. Only appears if you turned on "Do students need to qualify?" in Capabilities, which is why this sometimes shows as a "6 steps" builder and sometimes "7", this step is skipped entirely rather than left empty when it's off. See Setting eligibility rules for the full breakdown of what you can gate on.
- 4Billing. Add one or more named plans, each with its own cadence and price, only shown for Pay to join categories. See Choosing a billing structure for the full walkthrough.
- 5Cross-discounts. If being enrolled in this category should give a student a discount on a different one (a common real case: a Team member gets a reduced rate on regular classes), this is where that relationship lives.
- 6Onboarding form. Any category-specific questions to ask a student when they sign up, skip it entirely if the standard details are already enough.
- 7Review. A full summary of every choice you just made, one last look before it goes live.
Save it, and the category exists, but it's worth knowing it isn't bookable by anyone yet, it needs at least one real session on the calendar first. That's a deliberate two-step process: define the offering completely, then put real times on the clock for it. See Scheduling a session for that second half of the story.
Draft categories exist quietly in the background
A recurring term-based program (like Kids/Street Academy) is just a category too, one per term